Step-by-Step Blog Setup: Go from Zero to Live in 60 Minutes
- Elisha Bearam

- Sep 20
- 8 min read
Updated: Sep 21
Disclosure: I may earn a small commission for purchases made through affiliate links in this post at no extra cost to you. I only recommend products I truly believe in. Thank you for supporting my site!

Have you been dreaming of starting a blog but feel completely overwhelmed by the techy stuff? You’re not alone.
The thought of domains, hosting, and design can make anyone want to close their laptop and call it a day.
But what if I told you it’s easier than it looks? That with a clear, step-by-step blog setup tutorial, you can have a beautiful, professional blog live on the internet today?
This guide is that promise. I’ve broken down the entire process into simple, bite-sized steps.
By the end, you won’t just understand how to start a blog for beginners—you’ll have a functioning website ready for your very first post. Let’s build your future, one click at a time.
Before You Start: What You Need to Begin
Before we dive in, let’s make sure you have everything you need. It’s not much! You’ll need:
A computer and a stable internet connection.
An email address to create accounts.
A rough idea for your blog’s name.
A small budget of approximately $60-$75 to cover your first year of web hosting and a domain name (your blog’s address).
That’s it! You don’t need to be a tech expert. You just need to be able to follow simple instructions.
Step 1: Choose Your Blogging Platform & Niche
Think of this step as choosing the plot of land for your new house and the blueprint you’ll build it with. You need a solid foundation and a clear plan.
1. How to Pick a Profitable Niche
Your niche is your blog’s topic. It’s what you’ll write about. The sweet spot is where your passion meets what people are actively searching for.
Ask yourself:
What do I love talking about? (e.g., sustainable living, personal finance for families, easy weeknight meals)
What problem can I help solve? People search online for solutions. Your blog can be the answer.
Who do I want to help? Get specific. Instead of "women," think "women over 40 looking to start a side hustle."
Choosing a clear niche helps you attract the right readers and, eventually, the right opportunities to make money.
2. Selecting Your Platform (The Foundation)
Your blogging platform is the software that powers your entire site. While there are many best blogging platforms out there, I strongly recommend WordPress.org.
Wait, don’t confuse this with WordPress.com! WordPress.org is the free, open-source software that you install on your own web hosting. It’s what over 40% of all websites use. Why?
You Own It: You have complete control. You’re not renting space on someone else’s property.
Total Monetization Freedom: You can run ads, use affiliate links, and sell products without any restrictions.
It Grows With You: It’s infinitely customizable with thousands of designs and add-ons.
While WordPress.org is powerful, if you're looking for the absolute simplest option to just get writing, you can explore platforms that are best for beginners.
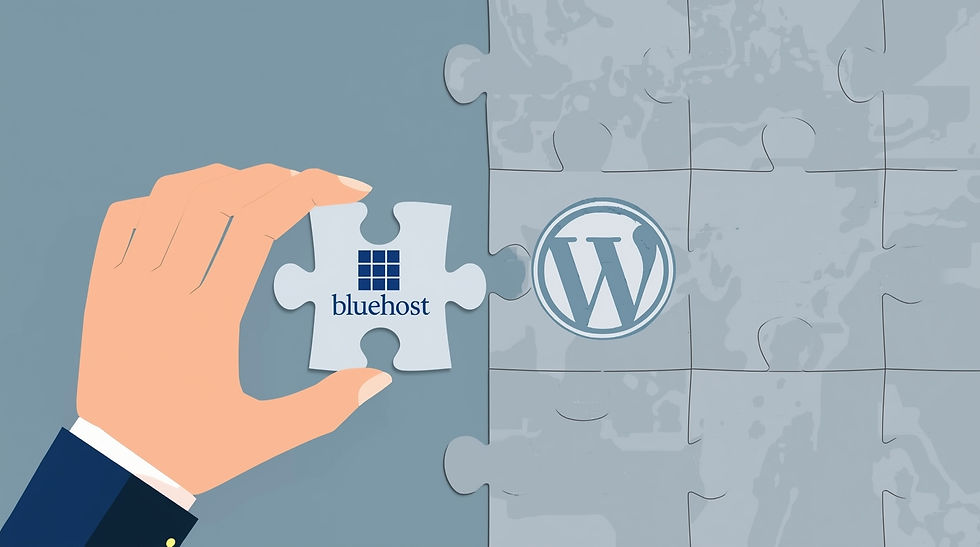
3. Why We Recommend WordPress.org + Bluehost
For this blog setup for beginners, we’re using WordPress.org with Bluehost as our web hosting provider. Web hosting is like renting that plot of land—it’s the space where your blog’s files live online.
Bluehost is officially recommended by WordPress and is perfect for beginners because:
It’s affordable (often under $3/month for your first term).
It includes a FREE domain name for the first year (saving you $15).
They make installing WordPress incredibly easy with a one-click setup.
This combo gives you the power of WordPress without the headache of complex setup.
Step 2: Secure Your Domain Name and Hosting
This is where we make it official! It might feel like a big step, but it’s just a simple online purchase.
1. How to Choose a Memorable Domain Name
Your domain name is your address on the web (like www.YourAwesomeBlog.com). Keep it:
Simple and Easy to Spell: Avoid slang, hyphens, or numbers that can confuse people.
Brandable: It should give a hint about your blog’s topic or feel like a personal brand
A .COM: While there are other options (.net, .co), .com is the most trusted and easiest to remember.
2. A Walkthrough: Purchasing Hosting and Your Domain
Let’s get your web hosting for beginners set up. Follow these steps:
Go to the Bluehost Website. (Use our affiliate link if you’d like to support our site—it doesn’t cost you extra!)
Select Your Plan. The "Basic" plan is perfect and the most affordable place to start. Click "Select."
Claim Your Free Domain. Type your chosen domain name into the "Create a new domain" box and click "Next." If it’s taken, don’t worry! Bluehost will suggest alternatives.
Enter Your Account Information. Fill in your name, address, and email.
Review Your Package Information. You’ll see options for your package term. The 36-month term offers the best monthly rate, but the 12-month plan is a great commitment-free option. You can uncheck the "Package Extras." You can always add these features later if you need them.
Enter Your Payment Details and submit the order!
You’ll receive a confirmation email with details on how to log in to your new hosting account.
3. Understanding Your Hosting Dashboard (cPanel)
After you purchase, you’ll land in your Bluehost dashboard. This is your mission control! It might look busy, but don’t be alarmed. You won’t need most of it right away.
For now, just know this is where you can manage your hosting, emails, and WordPress site.
Step 3: Install WordPress and Configure Basic Settings

The magic part! Bluehost makes installing WordPress almost too easy.
1. The One-Click WordPress Installation
From your Bluehost dashboard, look for a button that says “WordPress” or “Create Website” or “Log in to WordPress.” Click it.
Bluehost will often automatically install WordPress for you when you sign up. If it hasn’t, there will be a very obvious “Install” button. Just follow the prompts!
2. Your First Login: Navigating the WordPress Dashboard
Once WordPress is installed, you’ll log into your new site by going to yoursite.com/wp-admin. Use the login credentials Bluehost emailed you.
Welcome to the WordPress Dashboard! This is your blog’s backstage pass. Here’s a super quick tour of the main menu on the left:
Posts: This is where you’ll write your blog articles.
Pages: This is for static content like your "About Me" or "Contact" page.
Appearance: Where you control how your blog looks (themes, menus, etc.).
Plugins: These are like apps for your blog that add new features.
Take a deep breath. You officially have a website!
Step 4: Design Your Blog (Choose and Customize a Theme)
Your theme is your blog’s interior design. It controls the layout, colors, and fonts. The best part? You can change it anytime without losing your content.
1. How to Choose a Professional, Mobile-Friendly Theme
Start with a free, lightweight theme. I recommend Astra, Kadence, or GeneratePress. They are:
Fast: They won’t slow your site down.
Mobile-Friendly: They look great on phones, which is where most people will read your blog.
Customizable: You can make them look unique without needing to code.
2. Installing and Activating Your Theme
In your WordPress dashboard, go to Appearance > Themes. Click "Add New," search for "Astra" (or your chosen theme), click "Install," and then "Activate."
3. Basic Customization
Go to Appearance > Customize. This opens a live preview of your site where you can make changes and see them instantly.
Uploading Your Logo: Look for the "Site Identity" section to upload your logo.
Setting Your Colors and Fonts: Explore the menus to find options for global colors and typography. Choose a simple color palette (2-3 colors) and easy-to-read fonts.
Creating Your Menu: Find the "Menus" section. Create a new menu (e.g., "Main Menu"), add your first few pages (Home, About, Contact), and assign it to the "Header" location.
Don’t aim for perfection here. Get it to a place that looks clean and professional, then move on. You can always tweak it later.
Step 5: Install Essential Plugins (Your Blog’s Toolbox)
If WordPress is the engine of your blog, plugins are the turbo-boosters, GPS, and air conditioning. They add functionality without complex coding.
Here are 5 must-have free plugins for every new blog:
Rank Math SEO: Helps you optimize your posts so Google can find them and send you readers.
Wordfence Security: A security system that protects your blog from hackers and malware.
UpdraftPlus: An automatic backup system. If anything goes wrong, this lets you restore your entire blog with a single click.
WP Super Cache: Makes your blog load faster for visitors, which is great for user experience and SEO.
How to install a plugin: Go to Plugins > Add New. Search for the plugin name, click "Install Now," and then "Activate."
Beyond these core plugins, you’ll eventually want to equip yourself with other essential blogging tools for creating graphics, managing your email list, and more.
Step 6: Create Your Core Pages (Build Trust & Compliance)
Before you publish your first post, add a few essential pages. This makes your blog look professional and trustworthy.
About Page: This is your chance to connect! Tell your story, share your mission, and let readers know why they should trust you.
Contact Page: How can readers or brands get in touch with you? A simple contact form works perfectly.
Privacy Policy Page: This is a legal requirement if you collect any data (like email addresses). You can generate a basic one using a free online generator.
Disclaimer Page: Crucial if you plan to make money through affiliate links or give advice. It states that your content is for information and you may earn a commission.
How to create a page: Go to Pages > Add New. Give it a title, add your content, and hit "Publish." Then, go to Appearance > Menus to add your new pages to your site’s navigation menu.
Step 7: Write and Publish Your First Blog Post

The moment you’ve been waiting for! Go to Posts > Add New.
You’ll see the WordPress block editor (called Gutenberg). It’s intuitive: you add “blocks” for paragraphs, images, headings, and more.
Craft a compelling title.
Write your post. Don’t overthink it—just share your knowledge and passion.
Add a Featured Image: This is the main image for your post. Find it in the settings on the right-hand side.
Add Categories and Tags: These help organize your content.
Hit "Publish"!
Congratulations! Your first blog post is live on the internet. Remember, your first post doesn't need to be perfect.
The goal is to hit publish. To learn how to create content that attracts readers from Google, our guide on how to write for SEO is your next stop.
Next Steps: What to Do After Your Blog is Live
Your blog is live! The hardest part—the technical setup—is over. Now, focus on:
Creating Great Content: Plan and write more helpful posts for your audience.
Setting Up Google Analytics & Search Console: These free tools from Google show you who visits your site and how they found you.
Starting an Email List: This is your most valuable asset. From day one, invite readers to subscribe so you can connect with them directly.
The key now is momentum. Keep going!
Frequently Asked Questions (FAQ)
Q: Is this step-by-step blog setup tutorial really for complete beginners?
A: Absolutely! I wrote it specifically for people with no prior technical experience. If you can follow simple instructions and click buttons, you can do this.
Q: Can I change my blog’s theme later?
A: Yes, you can! Changing your theme is like repainting your house. Your content (furniture) stays exactly where it is; only the look and layout change.
Q: How much time does this entire process take?
A: If you focus, you can complete this entire tutorial and have a live blog in about 60-90 minutes. Taking your time to choose a domain and design your theme might add another hour.
Conclusion: You Did It!
Look at what you’ve accomplished! In just a short time, you’ve gone from an idea to owning a professional, live blog. You’ve navigated domain names, hosting, and WordPress like a pro.
You are no longer a beginner wondering how to start a blog for beginners—you are a blogger.
I am so incredibly proud of you for taking this step. Now, go tell the world! I’d love to see it—share your new blog’s URL in the comments below!


Comments